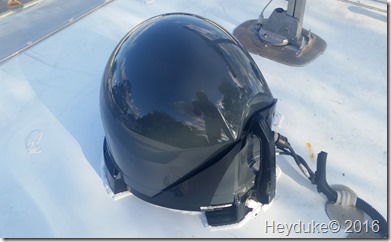
I am behind on the blog (once again) but I will continue the thread with more details about the remaining repair of the damage we encountered after hitting a tree limb (and simultaneously damaging our back end on a rock pile) in Florida. After installing the new satellite dish and the new radio antenna I needed to waterproof these items. I had removed some brackets that were drilled into the roof from the old satellite dish and had to drill new holes to mount the new satellite dish.
Those new and old holes in the roof must be waterproofed and the best product to do just that, according to Tiffin Motorhomes, is a CSL515 Self-leveling Form-in Place Gasketing Silicone Sealant/Adhesive. Specifically designed for fiberglass and for self leveling this flexible adhesive was perfect for the job. I ordered mine from Tiffin’s parts store in Red Bay Alabama. Using a caulk gun I was able to apply what was needed to keep the water away from the inside of my roof!
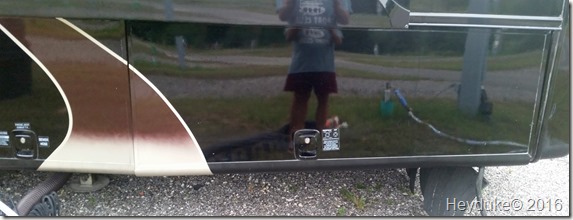
We also had to deal with a small dent and long scratch on the driver’s side rear two bay doors. All the damage was confined to the lower one inch wide panel at the bottom of each bay. First, I used 80 grit sandpaper on a sanding block to get down to the bare metal. Once I was satisfied with the sanding job I mixed up some Bondo and applied it with a flat scraper to the body to fill in the scratches and begin repairing the dent. I purchased the Bondo Body Repair Kit from Amazon and it had everything I needed for this small job.
After each application of Bondo I would sand with 180 grit and reapply more Bondo until I got the desired result. The deeper the dent the more applications of Bondo are needed. When I was happy with the results I used some 300 grit sandpaper to smooth it out before painting some grey primer paint on the door edge. I was able to get matching finish paint from Automotive Touchup by sending in my paint codes.
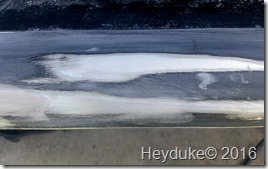
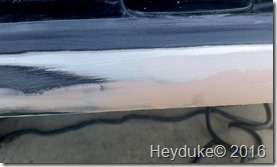
However, before I finished the painting I still had to repair about a foot long crack in the fiberglass near the damaged bay doors. I bought the 3M 420 Fiberglass Resin & Repair Kit from Amazon and after watching some YouTube videos I was ready to tackle the job. After cutting out the damaged fiberglass I sanded it to a rough finish (using 80 grit) and then applied the new fiberglass onto the damaged section.
 After sanding and then filling the small remaining pockets with some Bondo and some more finish sanding I was ready for the final painting. First I used masking tape and old newspaper to mask off the area I wanted to paint and applied the grey primer to it all. Some light sanding with 300 grit paper and I was ready to apply the finish coats. After each coat dried I used some 1000 grit wet/dry sandpaper with water to make the layer smooth. After three layers I then fished it off with some 2000 grit sandpaper.
Although I have never done this kind of work I decided after watching YouTube videos I could do these seemingly more complex repairs. I thought why not try as I figured if I could make it look nice enough then we could later have it professionally finished at our leisure. We will have someone apply the clear coat later as we are both satisfied with the end result of my efforts. It isn’t perfect but you really have to look at it carefully to detect where exactly the damage once was. Now I am ready to get back on the road and have some fun!


Ever think you missed your true calling? No way I do all that by myself. Enjoy your remaing time at your old home. Off to PA tomorrow.
ReplyDeleteYouTube videos are great teachers!
ReplyDeleteI have done so much body work and painting over the years, just follow the drirections and take you time.
ReplyDeleteYou did a great job !
I am very impressed with this and with you. Thanks for posting about it.
ReplyDeleteGreat job...especially if you are happy with it!!!
ReplyDelete